How to Root Cuttings in Soil or Potting Mix
A step-by-step method for rooting cuttings directly in a pot of light mix: how to plant the node, how moist to keep it, and how to check for roots without digging the cutting up.
At a glance
What you need
- Small pot with drainage holes
- Light, airy rooting mix
- Pencil or chopstick
- Clean sharp snips
- Room-temperature water
- Clear bag or cover for thin-leaved plants
Rooting speed varies by plant, season and conditions.
A jar of water is the method many people meet first, but it is not the only one. You can root cuttings in soil, or more exactly in a light potting mix, from the first day, and for some plants it is the better choice.
This guide covers the whole method: the pot, the mix, how deep to set the stem, and how to tell that roots have formed when you cannot see them. It suits stem cuttings of leafy plants with visible nodes, many thick-stemmed or woody plants, leaf cuttings and, with one important change, succulents.
Why some growers prefer potting mix
Rooting in mix has three practical advantages.
- The roots form where they will live. They grow into the kind of medium the plant will stay in, surrounded by both moisture and air.
- There is no later move from water. A cutting rooted in a jar has to be potted up at some point, and that change can set it back. A cutting rooted in a pot skips the step.
- It suits plants that tend to rot in water. Succulents, many woody or thick-stemmed plants and leaf cuttings are usually started in a rooting mix rather than a jar.
The trade-off: you cannot see the roots
In a pot you cannot watch the node, so you have to read the cutting from above.
The second trade-off is moisture. Water in a jar is either there or not. A rooting mix has to stay evenly moist, like a wrung-out sponge, without ever being soggy. Mix that dries out completely leaves a rootless stem with nothing to draw on, and mix that stays saturated shuts out the air the buried stem needs. Most of the skill in this method is keeping the pot between those two extremes.
What to gather before you cut
- A small pot with drainage holes. Small matters: a large volume of mix around a rootless stem stays wet for a long time.
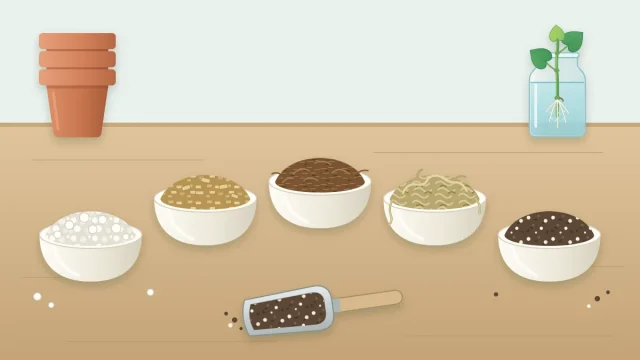
- A light, airy rooting mix. Dense, heavy soil is a poor fit. The guide to choosing a rooting medium compares perlite, coir, moss and potting mix and suggests starting blends.
- A pencil or chopstick for making the planting hole.
- Clean, sharp snips and a healthy cutting with at least one node. If you have not taken one before, see how to take a stem cutting for where to cut and which leaves to remove.
Moisten the mix before you fill the pot. Add water a little at a time and stir until the mix is damp all the way through but does not drip when you squeeze a handful. Dry mix can shed water and is hard to wet evenly once the cutting is in place.
How to pot the cutting, step by step
The node is the part that matters. On a stem cutting, new roots grow from the node, so at least one node has to sit below the surface of the mix, with the leaves above it.
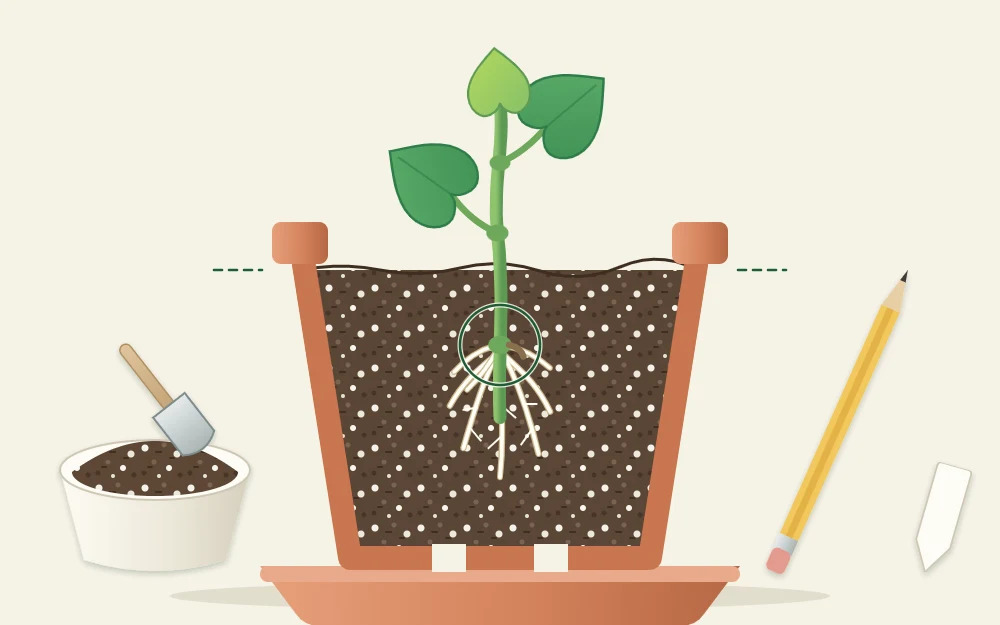
- Fill the pot with the pre-moistened mix and tap it on the table to settle it. Do not pack it down.
- Make a hole first. Push the pencil or chopstick into the mix to the depth you need. Pushing the stem straight in can scrape or crush the cut end.
- Remove any leaves that would be buried. Leaves under the surface tend to decay.
- Lower the cutting into the hole so that at least one node is below the surface. If the cutting has several nodes, burying two gives more places for roots to start.
- Firm gently. Press the mix in around the stem with your fingertips, just enough that the cutting stands on its own and the stem touches the mix all around.
- Water in. Give a light watering to settle the mix against the stem, then let the excess drain away. Do not leave the pot standing in water.
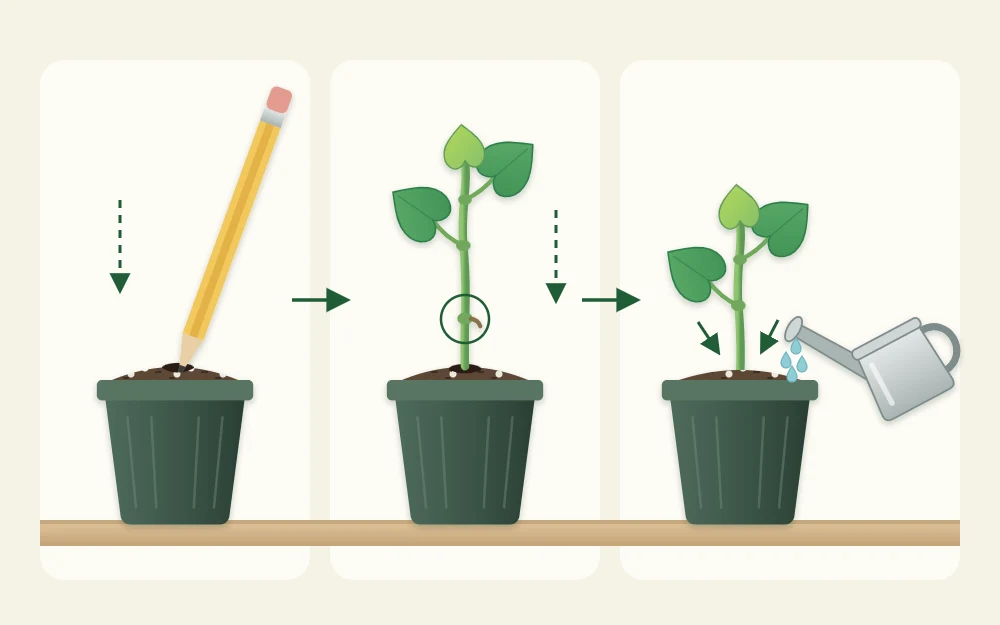
Several cuttings can share one pot if their leaves do not overlap much. Taking more than one is sensible anyway, because some cuttings fail even when everything is done with care.
Tip
Rooting hormone is optional for this method. If you choose to use it, dip only the cut end before planting and follow the product label. The article on rooting hormone for houseplants explains what it is and when it may help.
Where to keep the pot while it roots
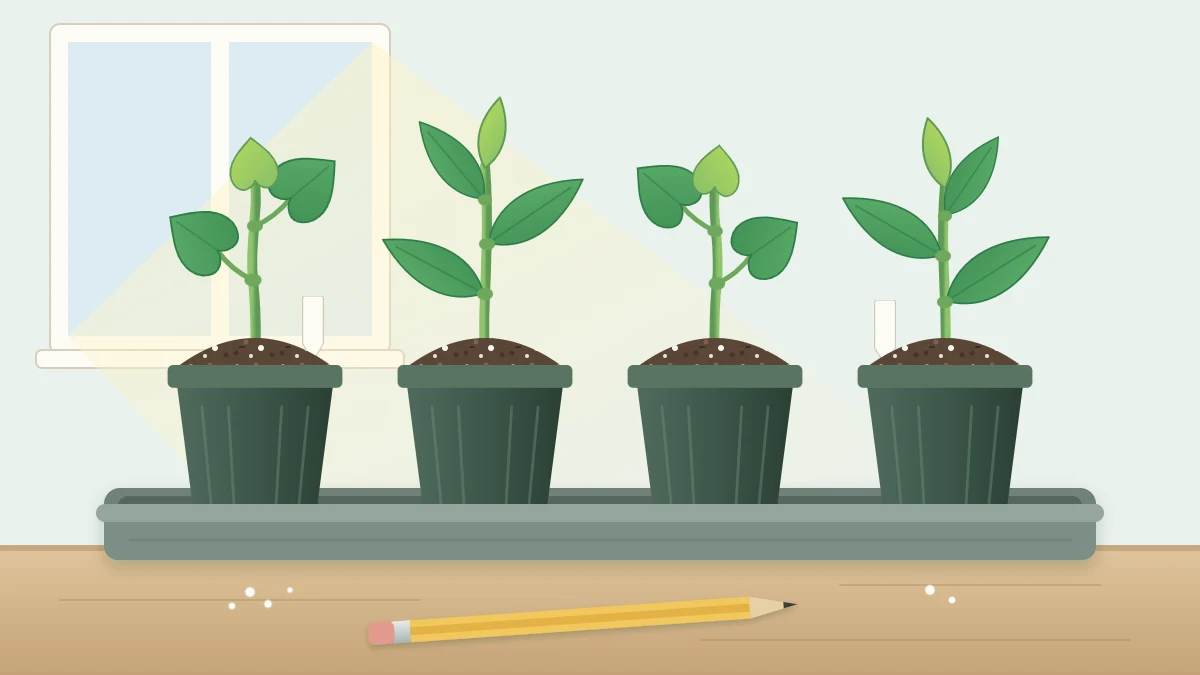
Set the pot in bright indirect light. A rootless cutting cannot replace the water it loses quickly, so direct sun is more than it can handle, while a dim corner gives it little energy to grow roots.
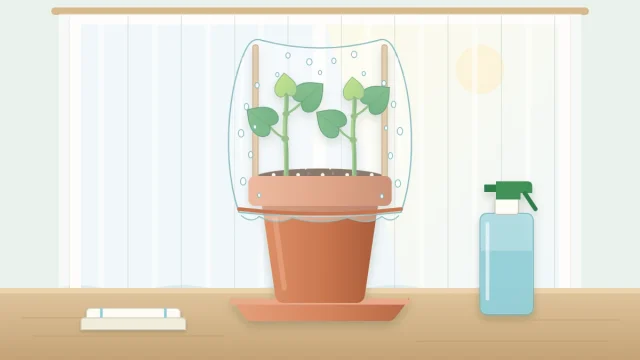
If the plant has thin leaves that wilt easily, cover the pot loosely with a clear bag or an upturned clear container to hold some humidity around the leaves, and open it regularly for fresh air. Thicker, waxier leaves often manage without a cover. The guide to humidity, warmth and light for cuttings covers the setups and their risks in detail.
Check the moisture by touch, not by the calendar. Push a fingertip into the top of the mix: if it feels dry, water lightly; if it still feels damp, leave it alone.
Checking for roots without digging
Pulling a cutting out to look tears off the fine new roots you are hoping for. Rooting speed also varies a great deal with the species, the season, the temperature and the health of the parent plant, so there is no date to wait for. Watch for these signs instead:
- New leaf growth. A fresh leaf or a lengthening tip suggests the cutting is taking up water on its own. It is a good sign, though not proof, because a stem can push a little growth from its reserves.
- Gentle resistance. Give the stem a very light tug. A cutting that has anchored itself resists slightly; one that has not slides up freely. Stop the moment you feel either.
- Roots at the drainage holes. This comes later and is the clearest sign of all.
A cutting that stays firm and green but shows none of these is usually still working on it. A stem that turns dark and soft at the base is a different matter and is unlikely to recover as it is.
Succulent cuttings are the exception
Succulents store water in their stems and leaves, and a fresh, wet cut pushed into damp mix is prone to rot. Change the method in two ways:
- Let the cut end dry first. Leave the cutting somewhere airy and out of direct sun until the cut surface has dried and formed a callus. A day or so is a rough guide for thin stems, and thicker ones need longer.
- Keep the mix barely moist. Use a gritty, fast-draining mix, water sparingly, and let it dry between light waterings.
Leave the humidity cover off as well. The enclosed, damp air that helps a thin-leaved cutting works against a succulent.
Frequently asked questions
Is it better to root cuttings in soil or in water?
Neither is better across the board. Rooting in mix avoids a later move out of water and suits succulents, leaf cuttings and many thick-stemmed plants that tend to rot in a jar. Water lets you watch the roots, which helps beginners. Choose by the plant and by how closely you can watch the moisture.
How do I know a cutting in soil has rooted?
Look for new leaf growth and feel for slight resistance when you give the stem a very light tug. Later, roots may show at the drainage holes. Avoid lifting the cutting out to look, because that breaks fine new roots. Speed varies widely with the plant, the season and the temperature.
Can I use ordinary potting soil for cuttings?
A dense potting soil kept wet holds little air around the buried stem, and that is a common cause of rot. Lightening it with perlite, or using a mix made for seed starting, gives a more open texture. Garden soil is a poor choice because it is heavy and may carry disease.